Add a New Sound
In the Administrator module, you can add and manage sounds in Xsponse. Sounds are used to customize notifications, alerts, or background effects within the platform. Adding a new sound involves uploading the audio file and configuring its properties.
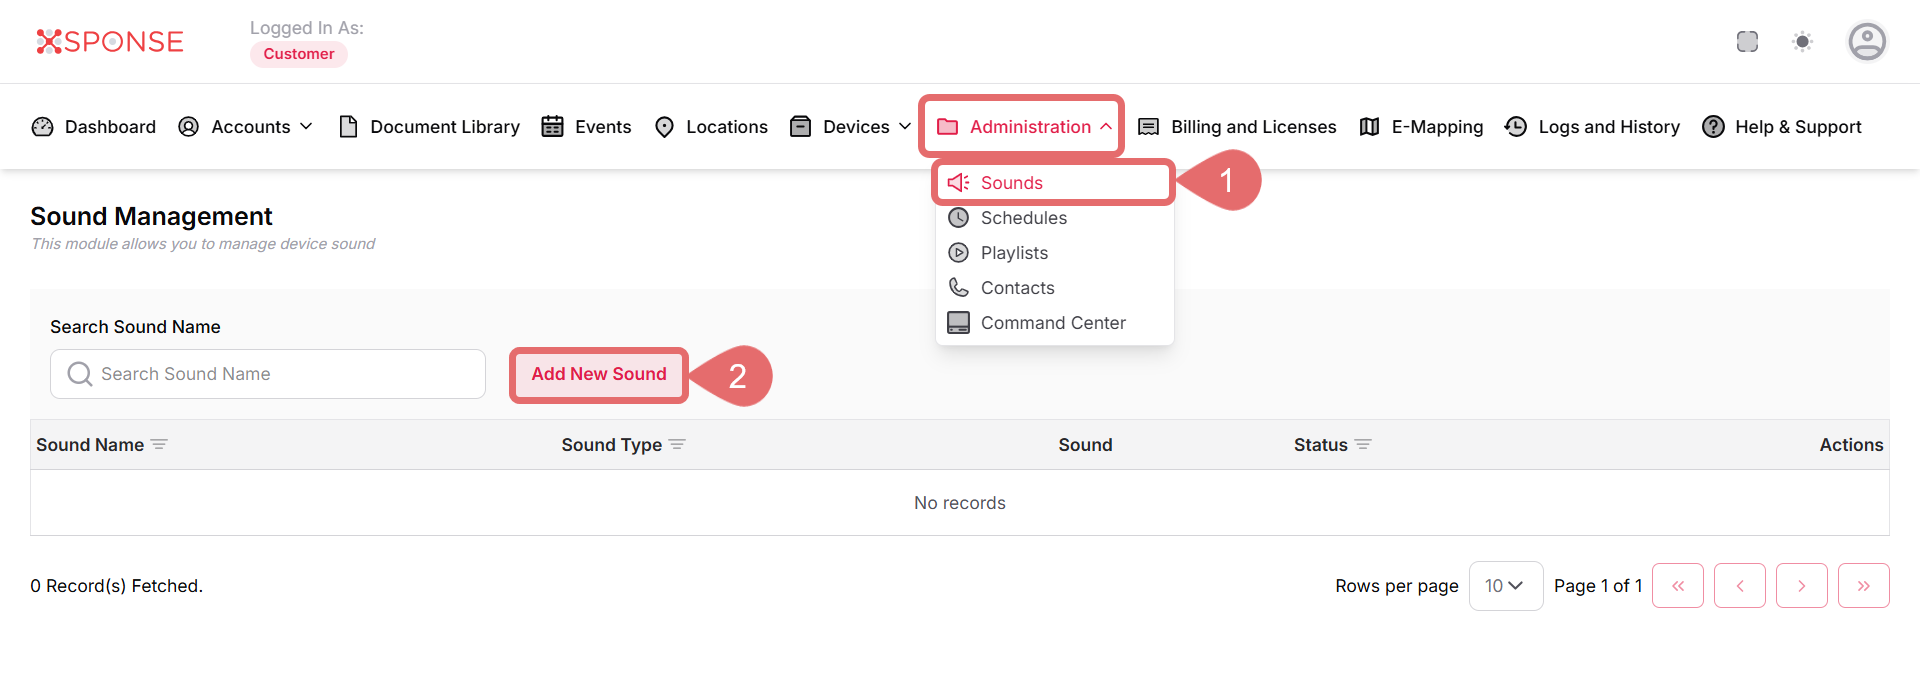
To Add a New Sound
- Go to Administration > Sounds.
- Click Add New Sound.
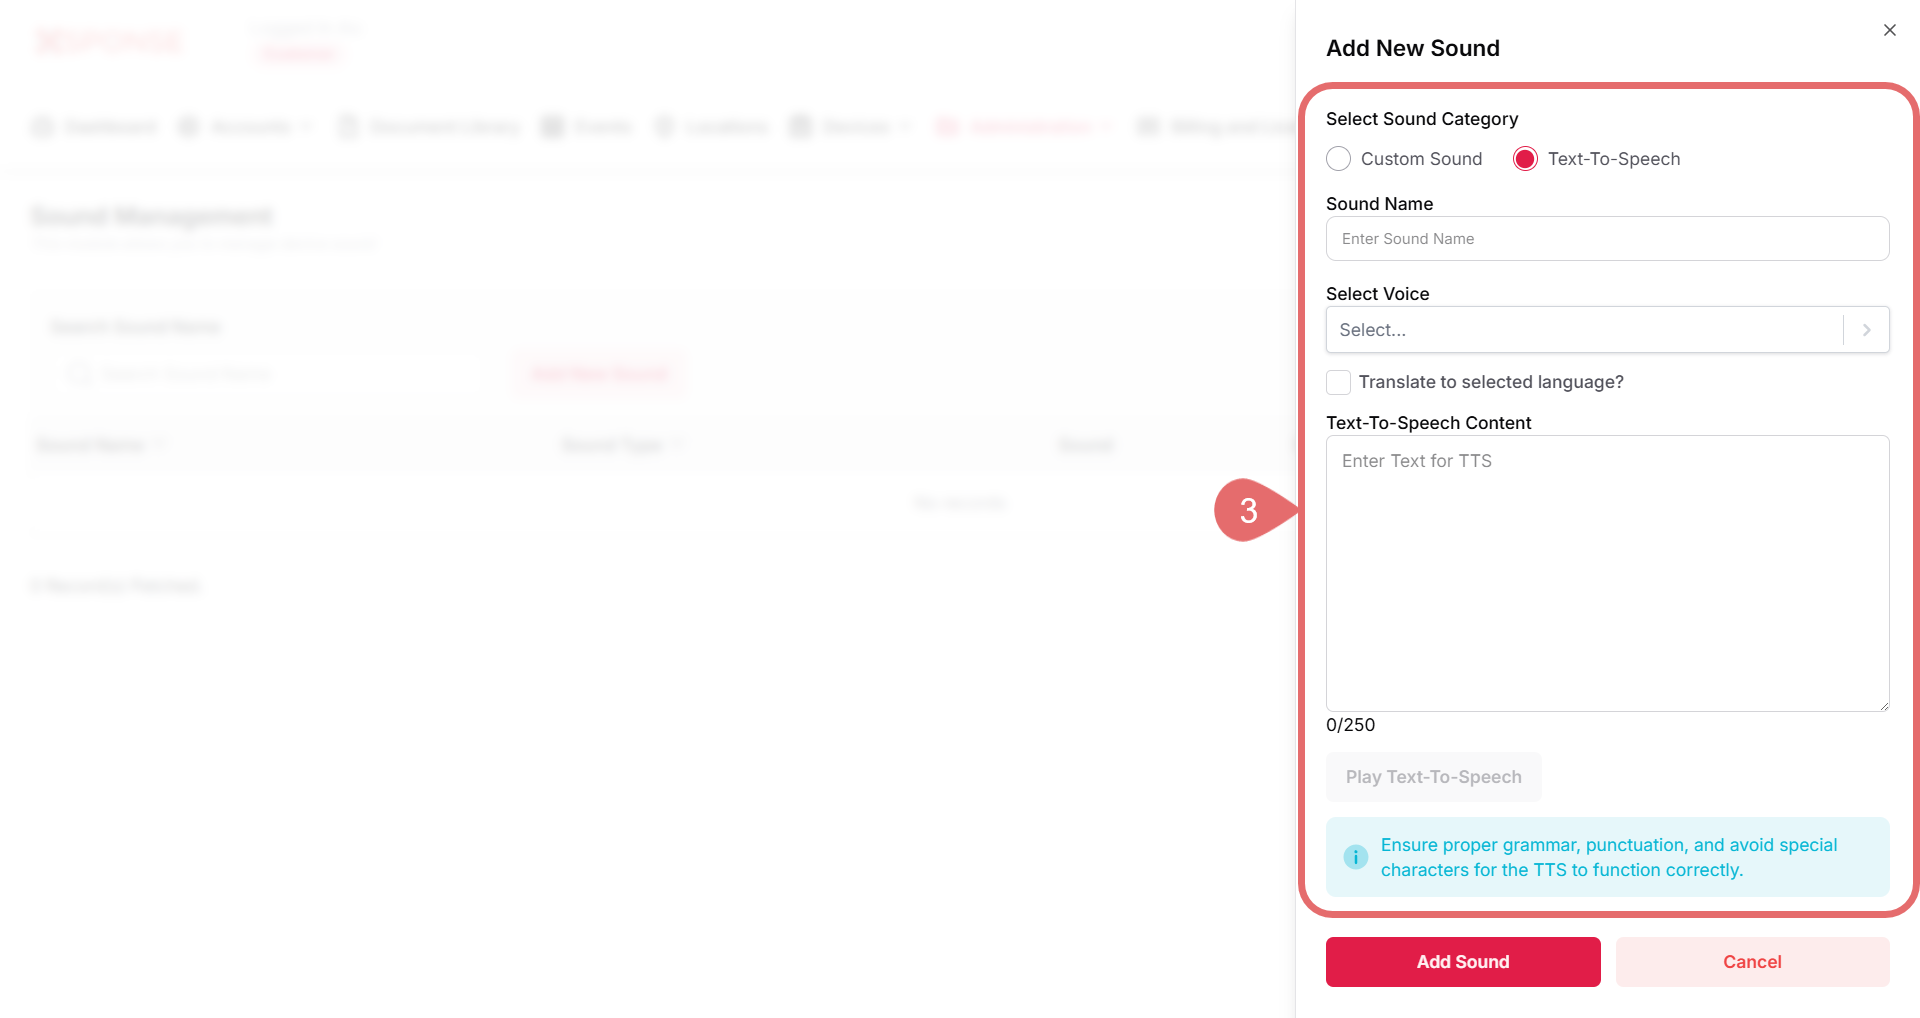
- Fill in the required information:
- Select Sound Category:
- Custom Sound: Upload your own audio file.
- Text-To-Speech: Enter text and let the system generate the sound.
- Sound Name: Enter a name that identifies the sound clearly. This field is required.
- Upload File: Click Browse and select the audio file you want to upload. This field is required.
Conditional FieldsThe Upload File field is only available when you select Custom Sound as the Sound Category.

- Select Voice: Choose the desired voice from the dropdown list. Options include languages and genders such as English (US) Female, English (US) Male, etc.
- Translate to selected language?: Enable this option if you want the system to automatically translate the entered text to the selected language for Text-To-Speech.
- Text-To-Speech Content: Enter the text you want the system to read aloud (maximum 250 characters). Ensure proper grammar and punctuation. Avoid special characters to ensure correct pronunciation.
Conditional FieldsThese fields are only visible if you select Text-To-Speech as the Sound Category.
- Select Sound Category:
- Click Add Sound to create the new sound, or Cancel to discard the changes.
See Also
To complement your knowledge of this process, check the following pages: